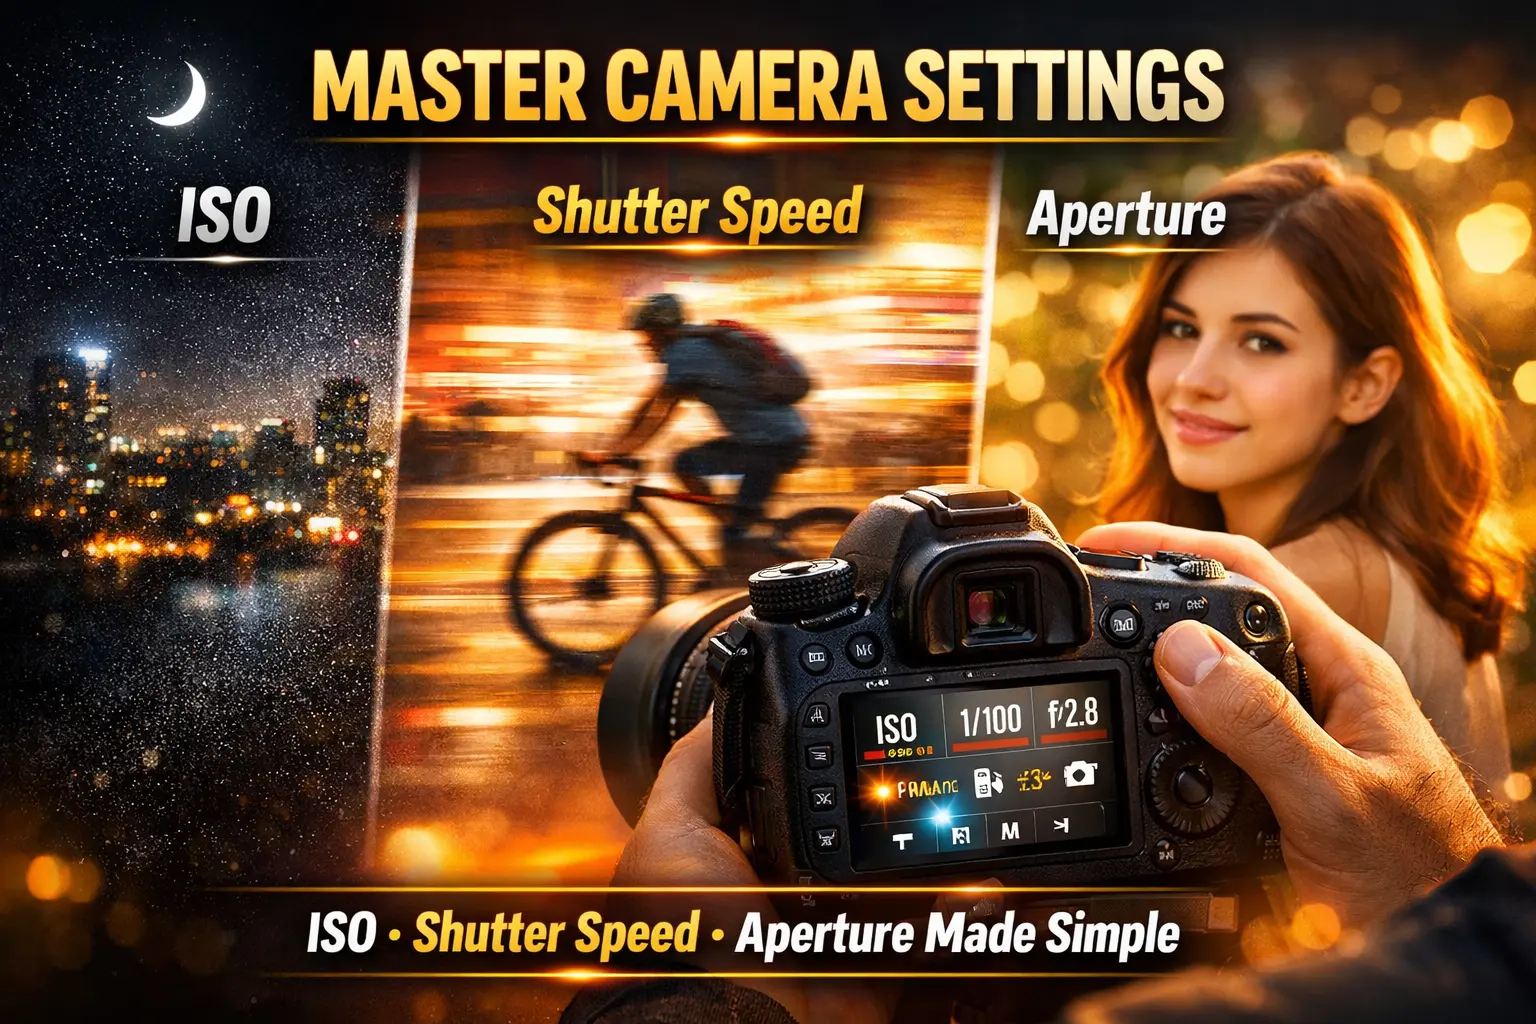
Camera Settings Explained: ISO, Shutter Speed & Aperture Complete Guide for Beginners. You just bought a new camera. Maybe a Canon EOS 200D, a Sony ZV-E10, or even a budget DSLR from a local shop in Elephant Road or Multiplan Center. You are excited. You point it at a sunset over the Buriganga, press the shutter and the photo comes out dark, blurry, or so washed out it looks nothing like what your eyes saw.
Sound familiar?
This happens to almost every photographer in Bangladesh who is just starting out. The problem is almost never the camera. It is almost always three settings that most beginners either ignore or do not fully understand: ISO, Shutter Speed, and Aperture. These three together form what photographers call the Exposure Triangle — and once you truly get them, your photos change overnight.
Let us break each one down, explain the real problems they solve, and show you how to use them smartly — whether you are shooting a wedding in Dhaka, a rickshaw in Sylhet, or a misty morning in the Sundarbans.
Why Your Photos Look Wrong — And What Controls Exposure
Before diving into each setting, here is one thing you must understand: every photo is made of light. Your camera’s job is to collect exactly the right amount of light — not too much (overexposed, washed out), not too little (underexposed, too dark). ISO, shutter speed, and aperture each control how much light reaches your camera’s sensor. Change one, and it affects the others.
This is called the Exposure Triangle, and it is the foundation of photography.
ISO — Your Camera’s Sensitivity to Light
What is ISO?
ISO is your camera’s sensitivity to light. A low ISO number like 100 means the sensor is less sensitive — it needs more light to make a proper photo. A high ISO number like 3200 or 6400 means the sensor is very sensitive — it can work in very dark conditions.
Think of it like this: if you are reading a book in a bright room, your eyes are relaxed — low sensitivity. Now go into a dark room. Your eyes open wider, trying harder to catch any light — high sensitivity. ISO works the same way.
Also Read: Photography Mistakes Beginners Make (And How to Fix Them)
Common ISO Values and When to Use Them
| ISO Value | Best For |
|---|---|
| 100 – 200 | Bright sunny day outdoors (like Chittagong beach at noon) |
| 400 | Overcast sky, open shade |
| 800 – 1600 | Indoors, evening light |
| 3200 – 6400 | Very dark rooms, night photography |
The Problem With High ISO — Noise
This is where many Bangladeshi photographers get frustrated. You shoot indoors at a wedding — maybe at a community center in Mirpur — and you push the ISO to 6400. The photo is bright enough, yes, but it looks grainy, speckled, almost like an old newspaper photo. That grain is called noise, and high ISO causes it.
Solution: Always try to keep your ISO as low as possible. If the photo is still too dark at a low ISO, that is when you turn to shutter speed or aperture for help — not just keep pushing ISO higher.
Real Example from Bangladesh
You are at Dhakeshwari Temple photographing a puja at dusk. The light is low. Instead of cranking ISO to 6400, try ISO 1600 with a wider aperture (f/2.8 or f/1.8) and a slightly slower shutter speed on a steady hand or small tripod. The result will be far cleaner.
Shutter Speed — Freezing or Blurring Motion
What is Shutter Speed?
Shutter speed is how long your camera’s shutter stays open when you press the button. It is measured in fractions of a second — like 1/1000s (very fast) or 1/30s (slow).
A fast shutter speed means the shutter opens and closes in a flash — it freezes motion. A slow shutter speed means the shutter stays open longer — it lets in more light, but anything moving will appear blurry.
Understanding the Numbers
When photographers say “one over a thousand,” they mean 1/1000 of a second. That is incredibly fast. When they say “one over thirty,” they mean 1/30 of a second — much slower, and at that speed, any slight camera shake from your hand will cause blur.
| Shutter Speed | Effect |
|---|---|
| 1/1000s or faster | Freezes birds in flight, cricket balls, fast traffic |
| 1/250s – 1/500s | Freezes people walking, children playing |
| 1/125s | Good general use, still handheld |
| 1/60s | Marginal — any shake shows up |
| 1/30s or slower | Needs a tripod; motion blur appears |
Problem 1 — Blurry Photos (Camera Shake)
This is the single most common complaint from beginners in Bangladesh. “My photos come out blurry even in daylight.” The reason is almost always a shutter speed that is too slow — the camera moves slightly in your hand during that fraction of a second, and the motion shows up in the image.
Solution: A simple rule — never handhold a shot slower than 1 divided by your focal length. If your lens is 50mm, do not shoot slower than 1/50s. If it is 200mm (like a zoom lens at a cricket match), do not shoot slower than 1/200s.
Problem 2 — Motion Blur in Action Shots
You go to a football match in your local field. You shoot the forward sprinting toward the goal. The photo looks like a smear. The subject moved faster than your shutter could freeze it.
Solution: Set your shutter speed to at least 1/500s for sports. For birds or fast vehicles, go to 1/1000s or faster.
Creative Use — Light Trails in Dhaka Night Traffic
Here is something creative. Set your camera on a tripod on a Dhaka overbridge at night. Use a shutter speed of 5 to 15 seconds. Every passing CNG, bus, and rickshaw van becomes a beautiful streak of light. This technique — called long exposure — is magical, and it only works because of a slow shutter speed.
Aperture — Controlling Depth and Light
What is Aperture?
Aperture is the opening inside your lens through which light passes. Think of it like the pupil of your eye — it gets bigger in the dark to let in more light, and smaller in bright conditions.
Aperture is measured in f-stops: f/1.8, f/2.8, f/4, f/5.6, f/8, f/11, and so on. Here is the part that confuses nearly everyone at first: a smaller f-number means a bigger opening. So f/1.8 is a very wide opening, and f/11 is a very narrow one.
Why This Confuses Beginners — And How to Remember It
Think of it as a fraction. f/1.8 literally means the opening is 1/1.8 of the focal length — a large fraction. f/11 means 1/11 of the focal length — a tiny fraction. Once you think of it as fractions, the confusion disappears.
What Aperture Actually Does to Your Photos
Aperture controls two things: how much light enters the camera, and something called depth of field — how much of the photo is in sharp focus from front to back.
A wide aperture (f/1.8, f/2.8) creates a shallow depth of field — only your main subject is sharp, and the background becomes beautifully blurred. This blur is called bokeh, and it is extremely popular in portrait photography.
A narrow aperture (f/8, f/11) creates a deep depth of field — nearly everything from close to far is in focus. This is ideal for landscape photography.
Problem — Background Is Distracting in Portraits
You are photographing a relative at Lalbagh Fort. The old walls behind them are beautiful, but there are also tourists, vendors, and distracting elements. Your photo looks cluttered.
Solution: Use a wide aperture — f/1.8 or f/2.8 if your lens supports it. The background blurs into soft shapes, and your subject stands out sharp and beautiful. Lenses like the Canon 50mm f/1.8 (often called the “Nifty Fifty”) are very affordable and extremely popular in Bangladesh for exactly this reason.
Problem — Landscape Looks Soft or Only Partly Sharp
You are photographing the tea gardens of Srimangal. The foreground leaves look sharp, but the distant hills are blurry. It feels incomplete.
Solution: Use a narrow aperture — f/8 to f/11. More of the scene will be in focus from front to back. Pair this with a tripod and a low ISO for a clean, crisp landscape shot.
How ISO, Shutter Speed, and Aperture Work Together
This is where the real magic happens. These three settings never work alone — changing one forces you to adjust the others to maintain a correct exposure. Let us walk through a practical example.
You are shooting a street scene in Old Dhaka on a cloudy afternoon. Light is moderate. You want a sharp image with some background blur.
You start with:
- ISO 400 (clean, appropriate for cloudy conditions)
- Aperture f/2.8 (wide open for background blur)
- Shutter 1/200s (fast enough to prevent blur)
Now a cloud passes and it gets darker. You need more light. Your options:
- Raise ISO to 800 — you get more light but slightly more noise
- Slow shutter to 1/100s — more light, but risk of camera shake
- Widen aperture to f/2 if your lens allows it — more light, more blur
There is no single correct answer. You make a judgment call based on what matters most for that shot.
Shooting Modes That Use These Settings
Once you understand these three settings, you can use semi-manual modes on your camera to take creative control without going fully manual.
Aperture Priority (Av or A mode): You set the aperture, the camera picks shutter speed automatically. Great for portraits and landscapes.
Shutter Priority (Tv or S mode): You set the shutter speed, the camera picks aperture automatically. Great for sports and action.
Manual (M mode): You control everything. Takes practice but gives maximum creative freedom.
Most experienced Bangladeshi photographers who shoot events and weddings rely heavily on Aperture Priority with Auto ISO — a very practical and flexible combination.
Quick Reference: Common Bangladesh Shooting Situations
Eid gathering or wedding reception (indoors): ISO 800–1600, Shutter 1/100s, Aperture f/2.8
Outdoor portrait at Hatirjheel or Gulshan lake: ISO 100–200, Shutter 1/250s, Aperture f/2.8–f/4
Cricket match or outdoor sports: ISO 400, Shutter 1/1000s, Aperture f/5.6
Sunset over the Padma or Jamuna: ISO 100, Shutter 1/200s (or longer on tripod), Aperture f/8
Night street photography in Dhaka: ISO 1600–3200, Shutter 1/60s (brace yourself or use a wall), Aperture f/2.8
Tea garden landscape in Sylhet: ISO 100, Shutter 1/100s–1/200s, Aperture f/8–f/11 on tripod
Final Thoughts
Understanding ISO, shutter speed, and aperture is not about memorizing rules — it is about training your eyes and instincts to see light differently. Every time you pick up your camera, you are making decisions about how to capture that light. The more you practice adjusting these three settings, the more natural it becomes.
Bangladesh is one of the most visually rich countries in the world — the rivers, the rickshaws, the monsoon skies, the festivals, the faces. You have a lifetime of extraordinary subjects around you. All you need now is the knowledge to do them justice.
Use the interactive tool above to experiment with these settings in real time. See how changing ISO affects noise, how a slow shutter creates blur, how aperture shapes your depth of field. Then take that understanding outside and shoot.
Your best photo is still ahead of you. Go make it.
Published on camerapricebd.com — Bangladesh’s trusted source for camera prices, reviews, and photography tips.